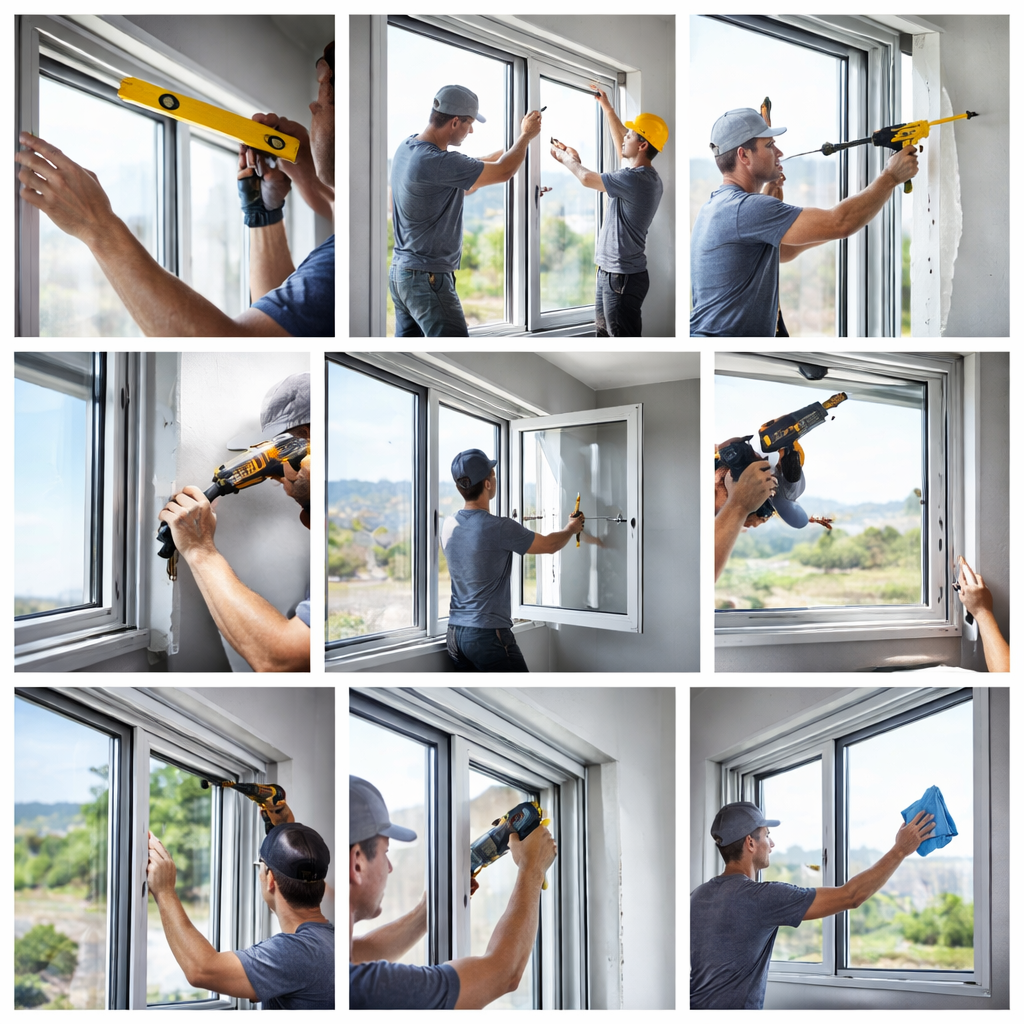
Aluminium window installation is a precision-based process that involves fixing a pre-fabricated aluminium frame and glass system into a prepared wall opening. Proper installation ensures airtight sealing, structural stability, water resistance, and long-term durability.
Unlike traditional wood or steel windows, aluminium systems require accurate alignment, chemical anchoring, and sealing techniques to perform effectively.
Types of Aluminium Windows (Before Installation):-
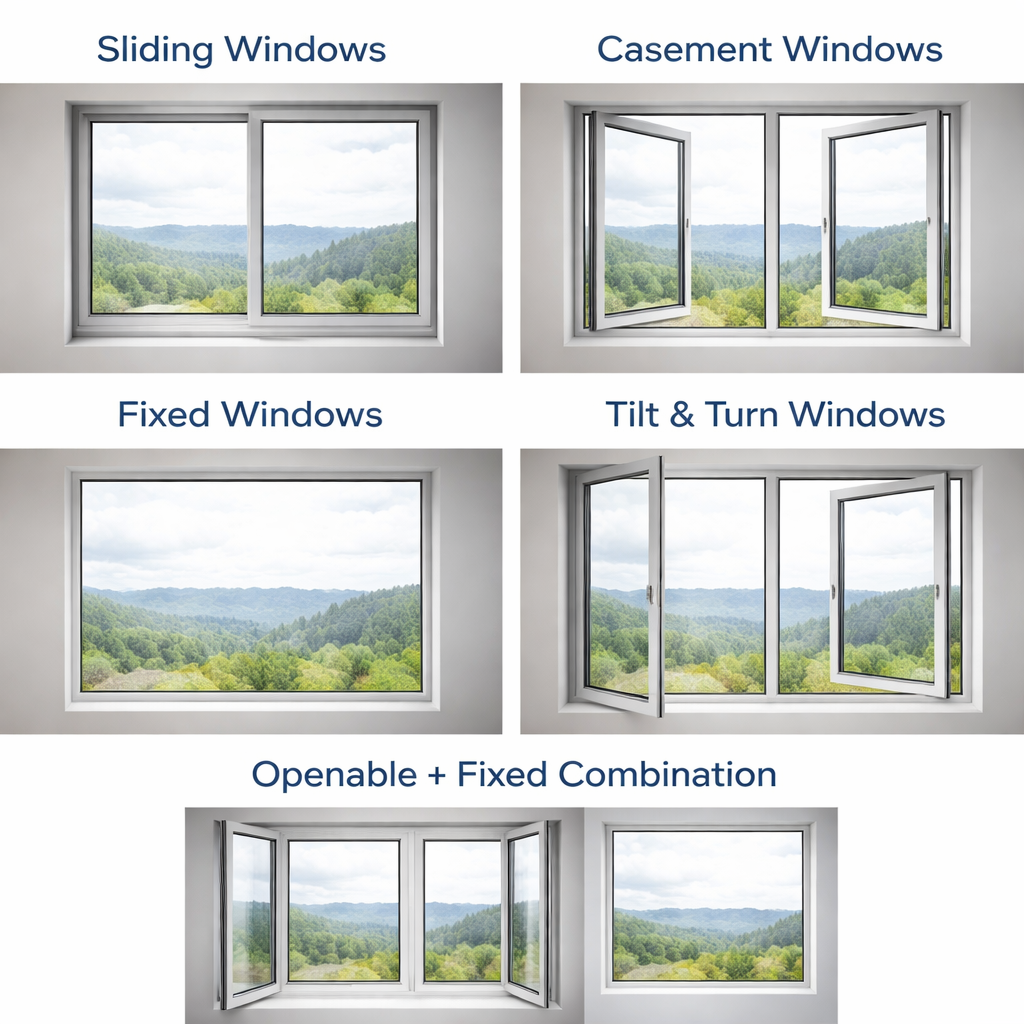
Understanding window type is critical because installation varies:
Sliding Windows
Casement Windows
Fixed Windows
Tilt & Turn Windows
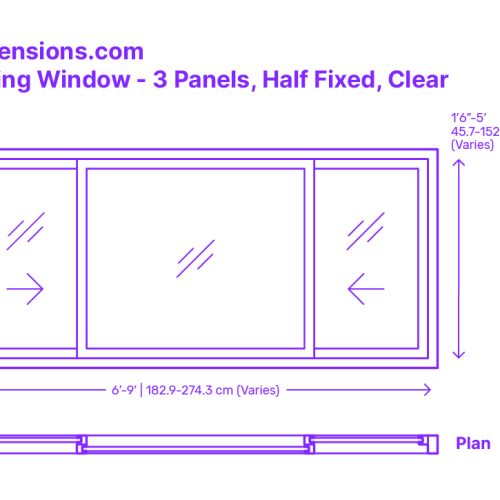
Openable + Fixed Combination Windows
Tools & Materials Required:-
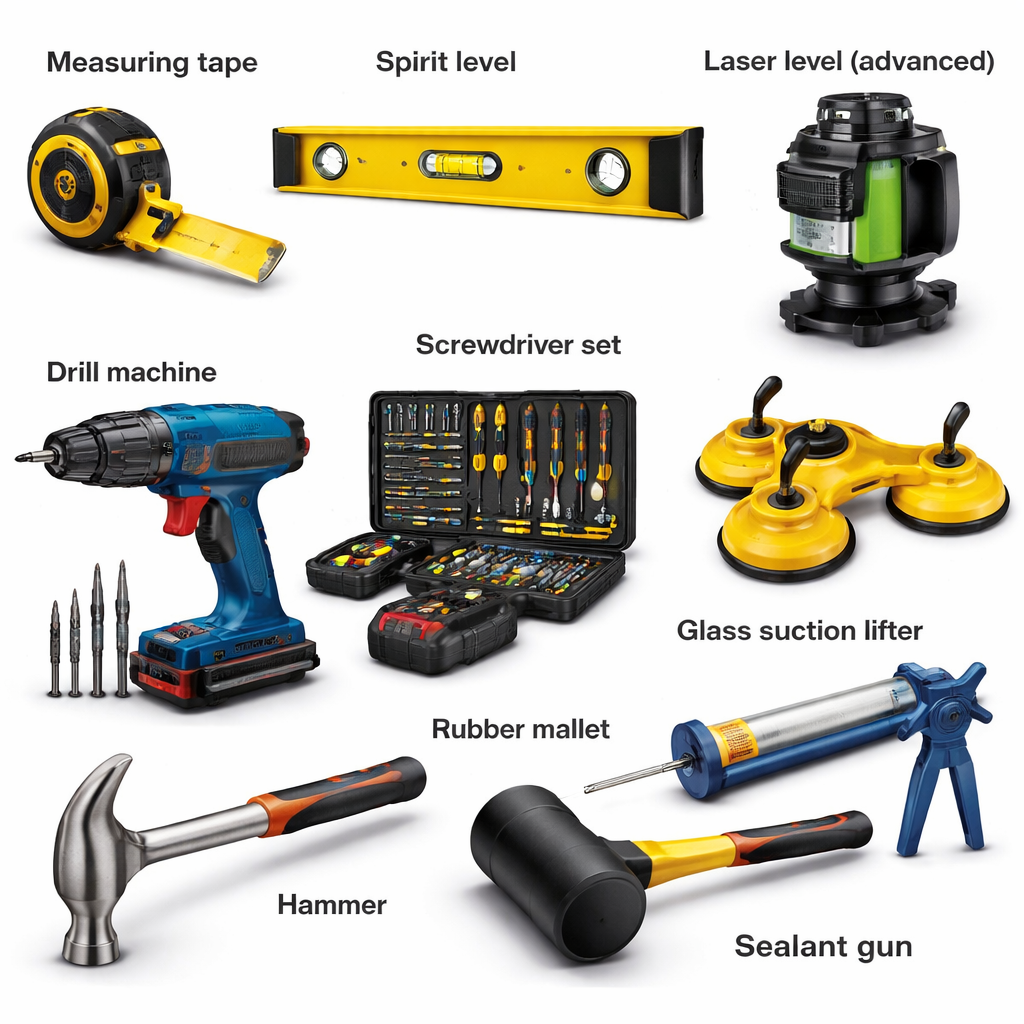
 Tools
Tools
Measuring tape
Spirit level
Laser level (advanced)
Drill machine
Screwdriver set
Hammer
Rubber mallet
Glass suction lifter
Sealant gun
 Materials
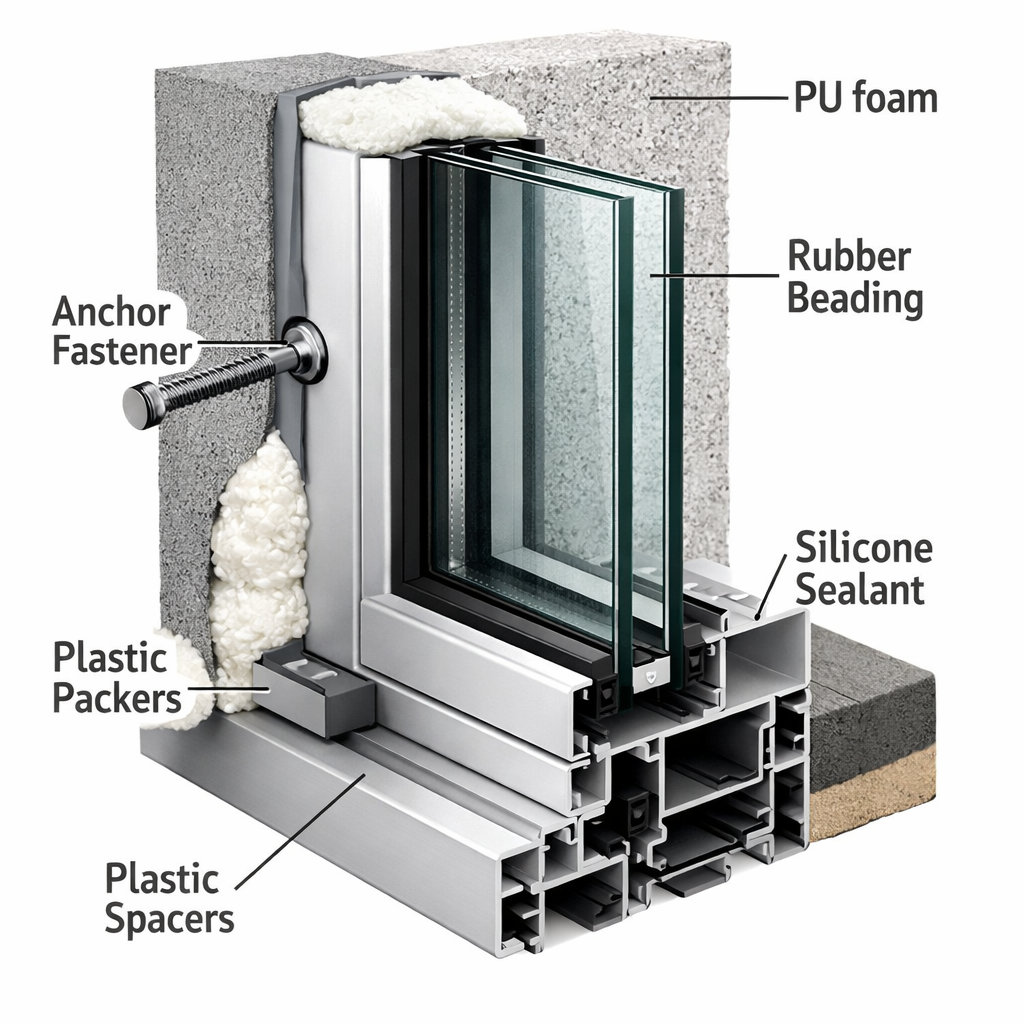
Aluminium window frame
Glass panels
Anchor fasteners / screws
Silicone sealant
PU foam / gap filler
Rubber beading
Packers (plastic spacers)
Site Inspection & Planning:-
Description
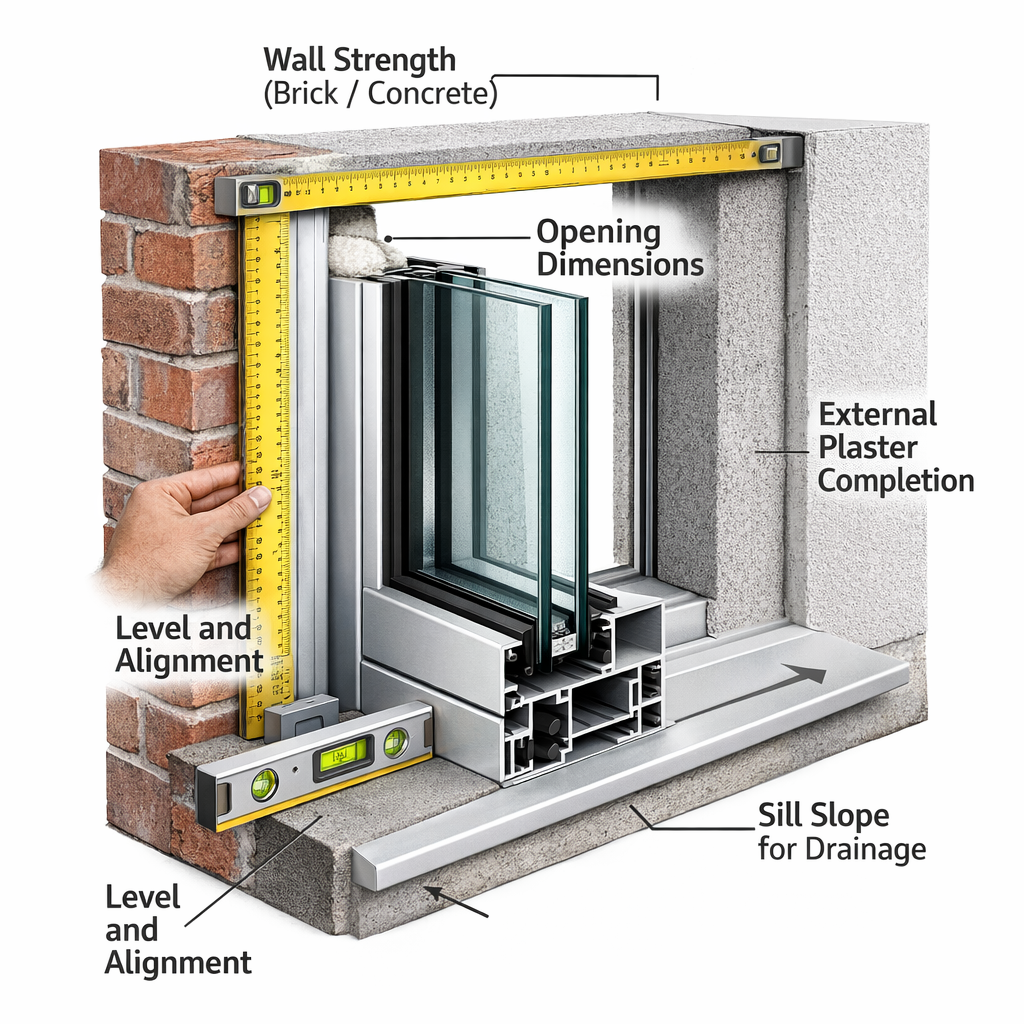
Before installation, the site must be inspected to ensure the opening is structurally ready.
Checklist
Wall strength (brick / concrete)
Opening dimensions
Level and alignment
External plaster completion
Sill slope for drainage
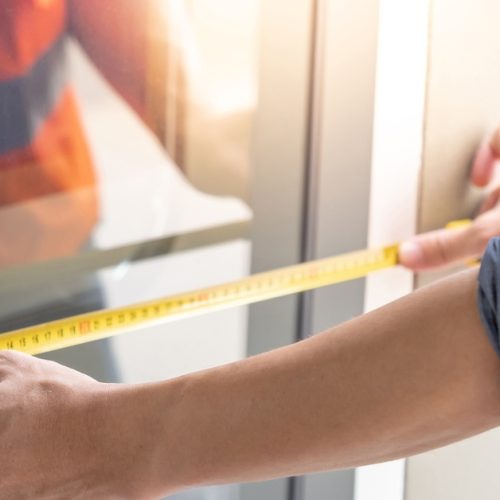
Measurement of Window Opening:-
Key Rule:
 “Measure twice, install once”
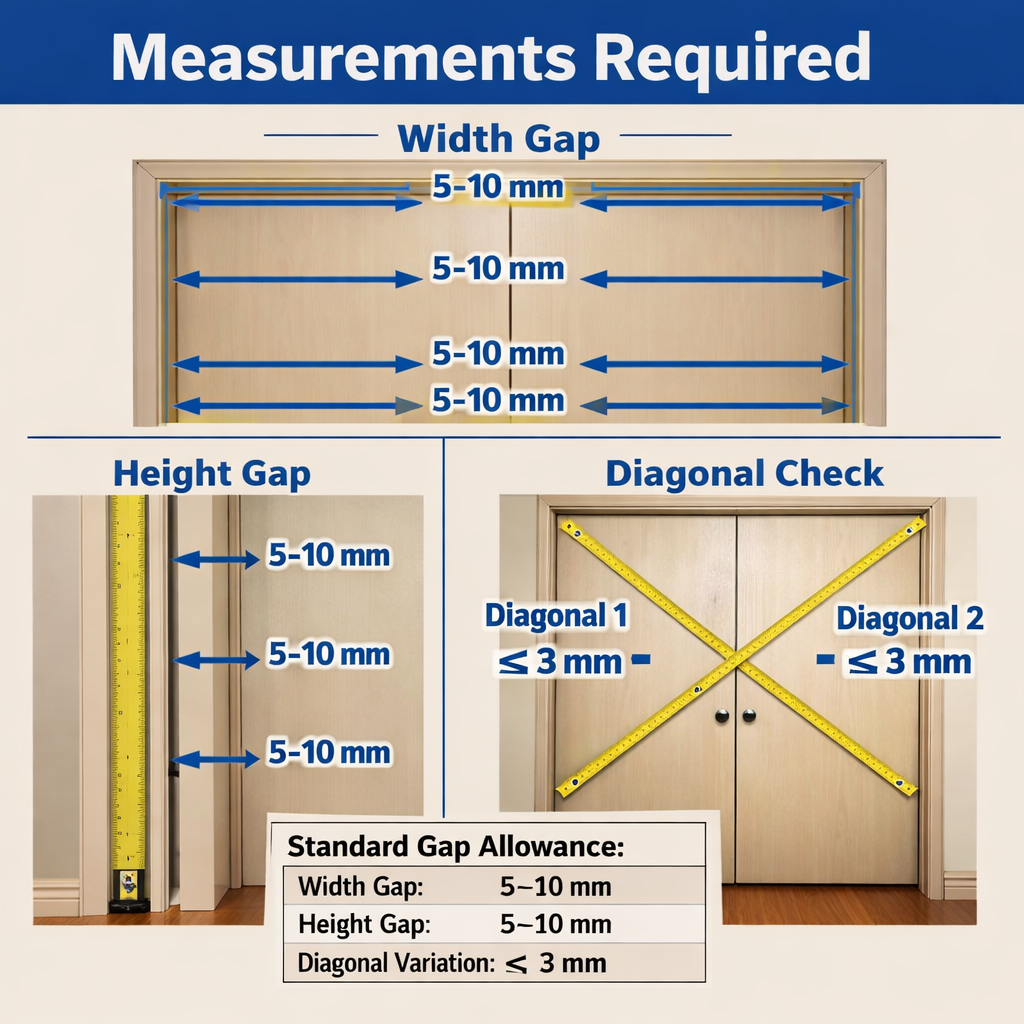
Measurements Required:
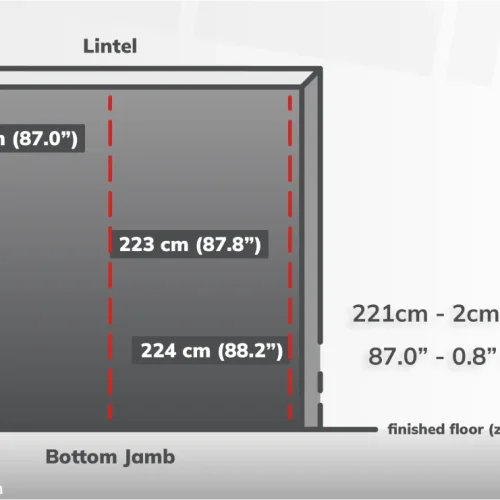
Width (top, middle, bottom)
Height (left, center, right)
Diagonal check (for squareness)
Standard Gap Allowance:
| Parameter | Recommended Gap |
|---|---|
| Width gap | 5–10 mm |
| Height gap | 5–10 mm |
| Diagonal variation | ≤ 3 mm |
Surface Preparation:-
Description:-
The wall opening must be cleaned and prepared.
Steps:-
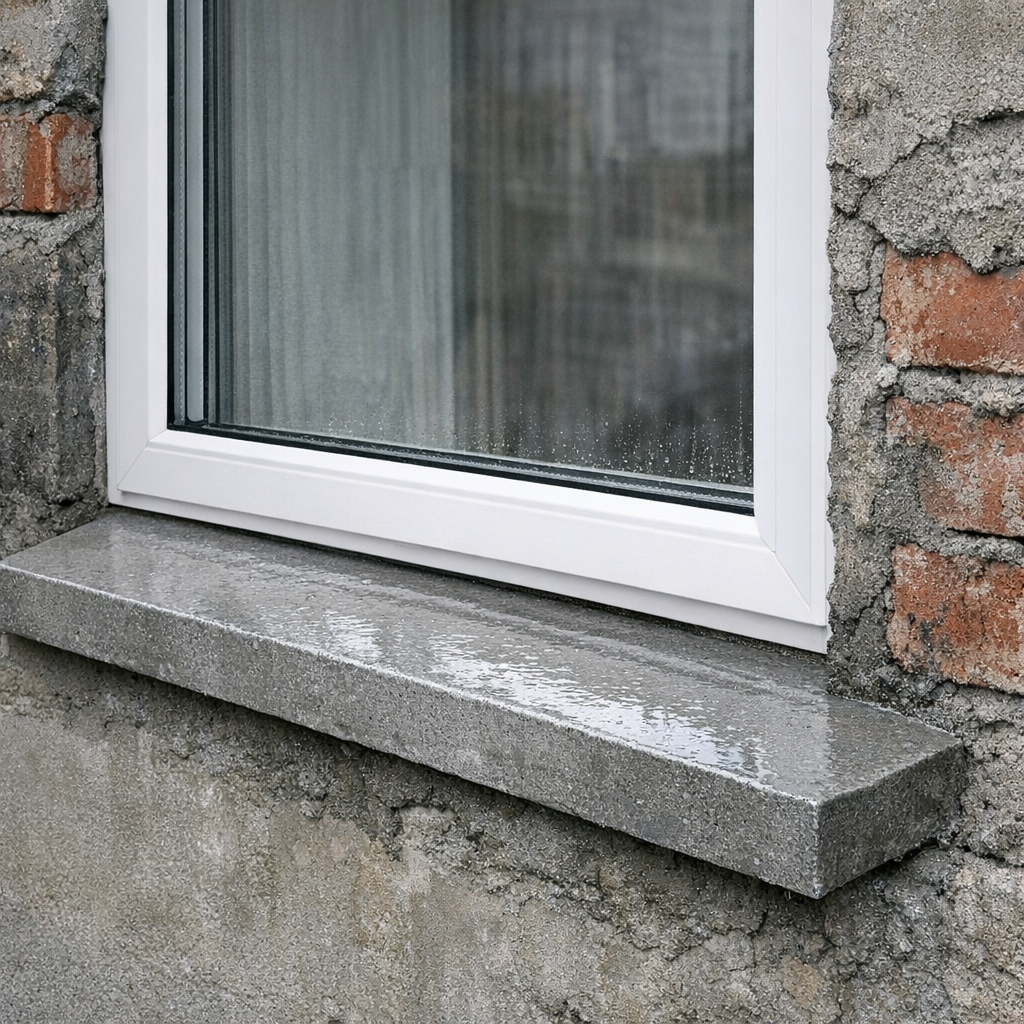
Remove dust, debris, loose plaster
Wet the surface slightly (for bonding)
Check sill slope (outward angle)
Frame Unpacking & Inspection:-
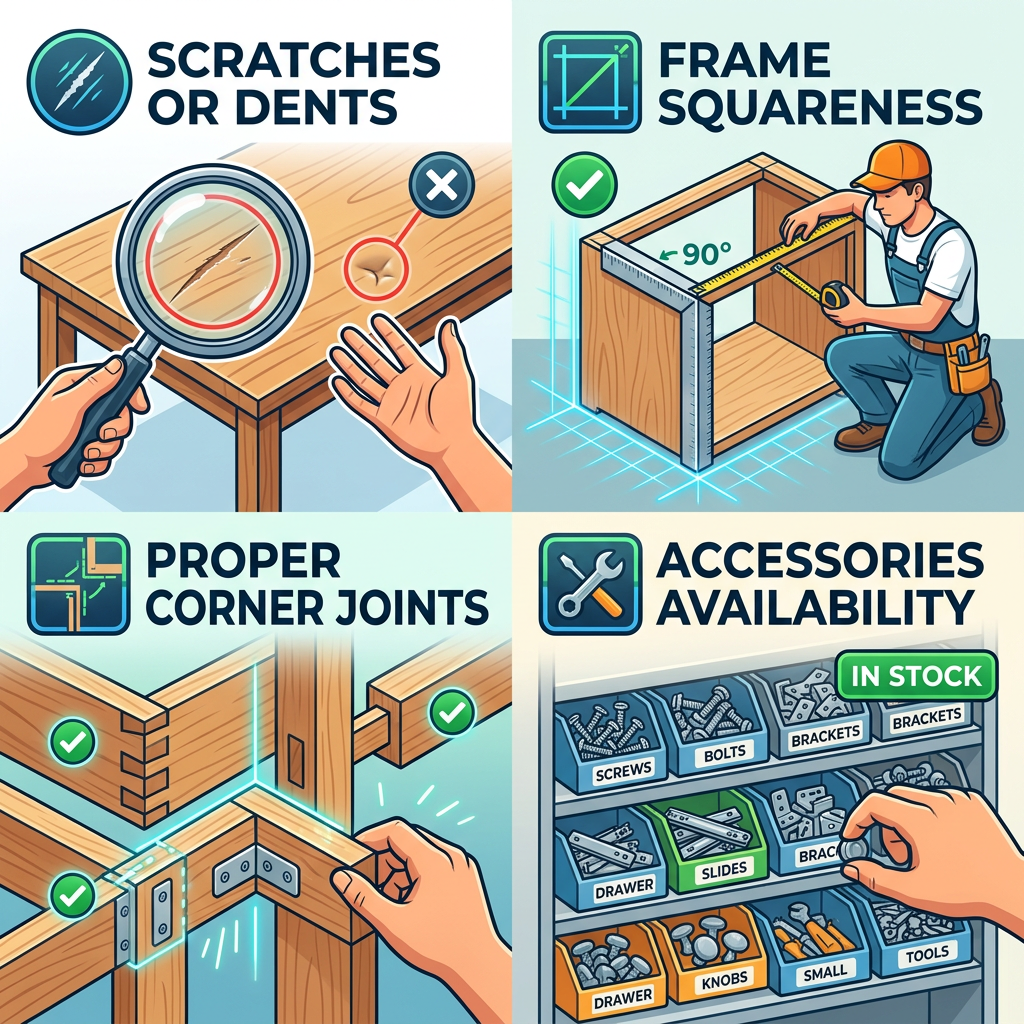
Check for:
Scratches or dents
Frame squareness
Proper corner joints
Accessories availability
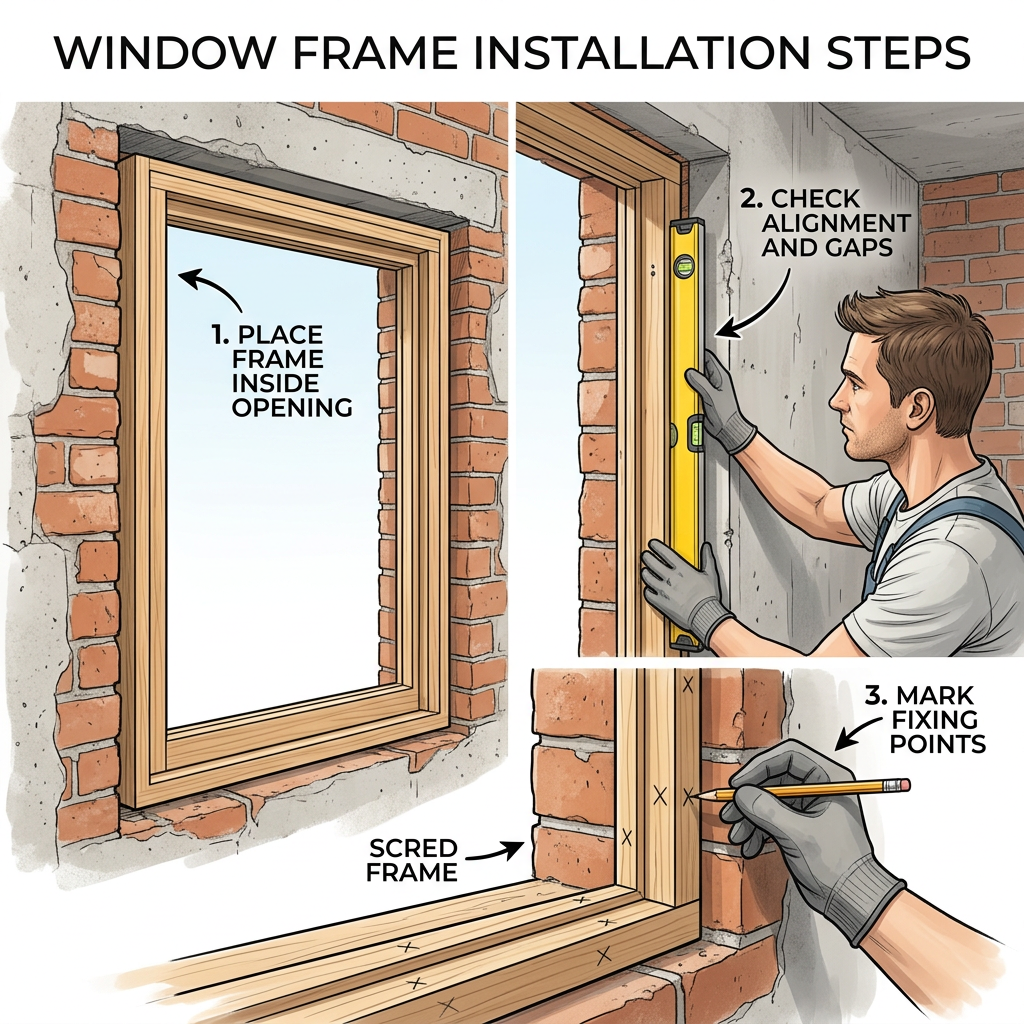
Dry Fit Trial:-
Purpose:
To verify fit before final fixing
Steps:
Place frame inside opening
Check alignment and gaps
Mark fixing points
Frame Positioning:-
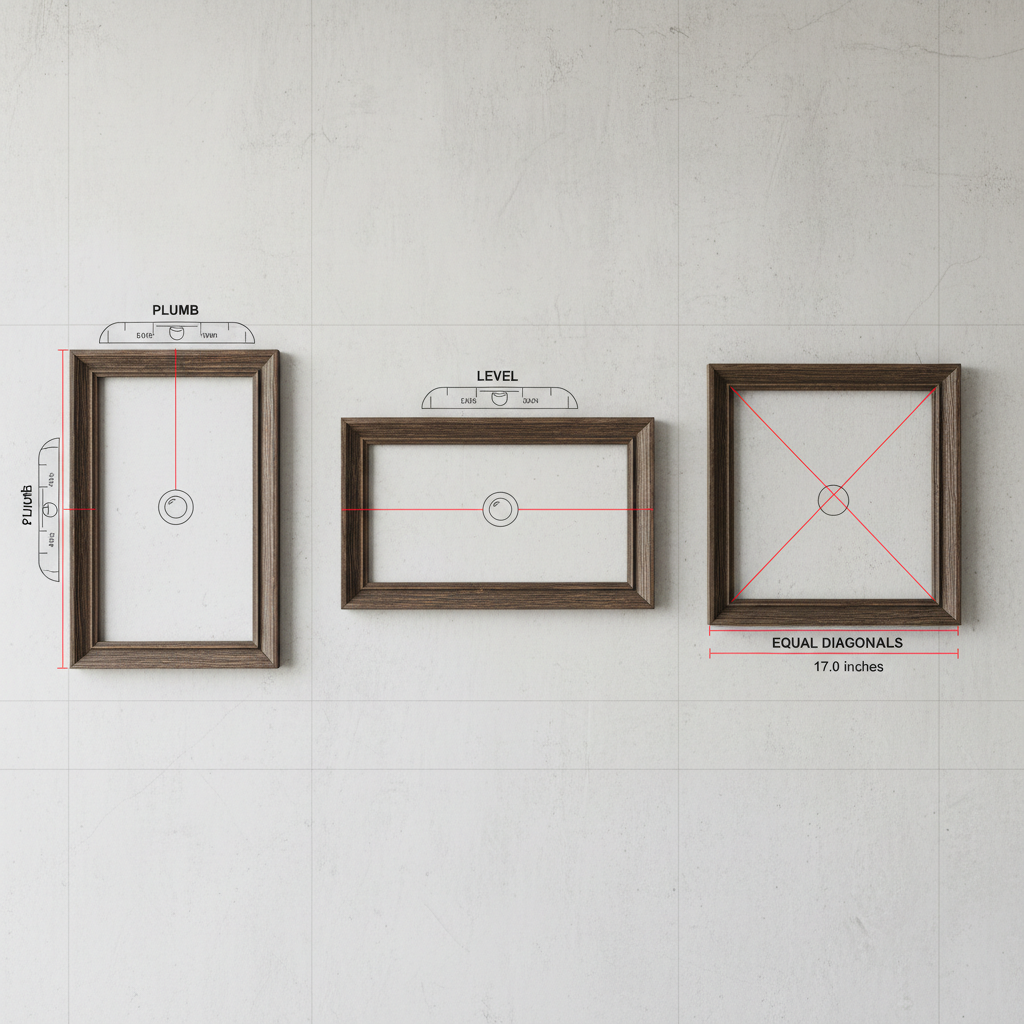
Alignment Rules:
Vertical (plumb)
Horizontal (level)
Square (equal diagonals)
Use:
Spirit level
Laser level (advanced accuracy)
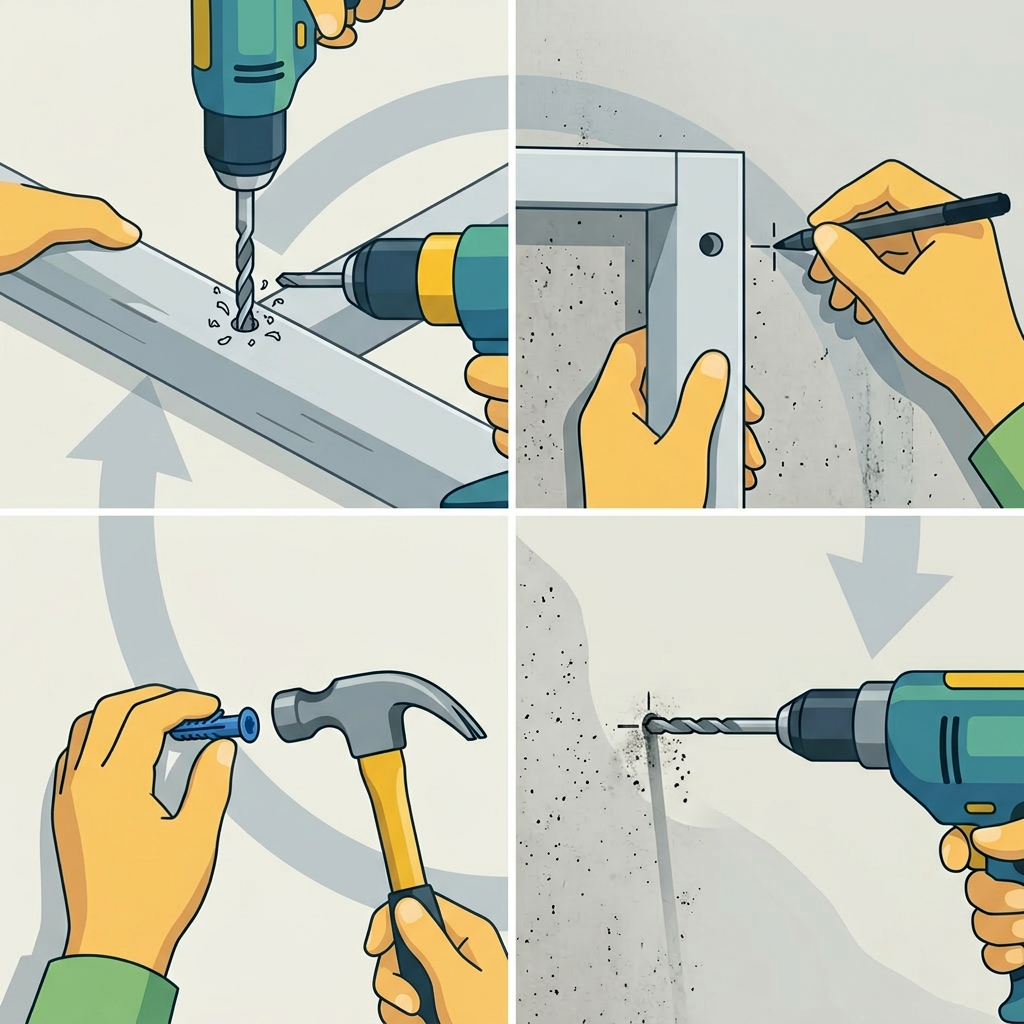
Drilling & Anchor Fixing:-
Steps:
Drill holes in frame
Mark wall positions
Drill wall
Insert anchor fasteners
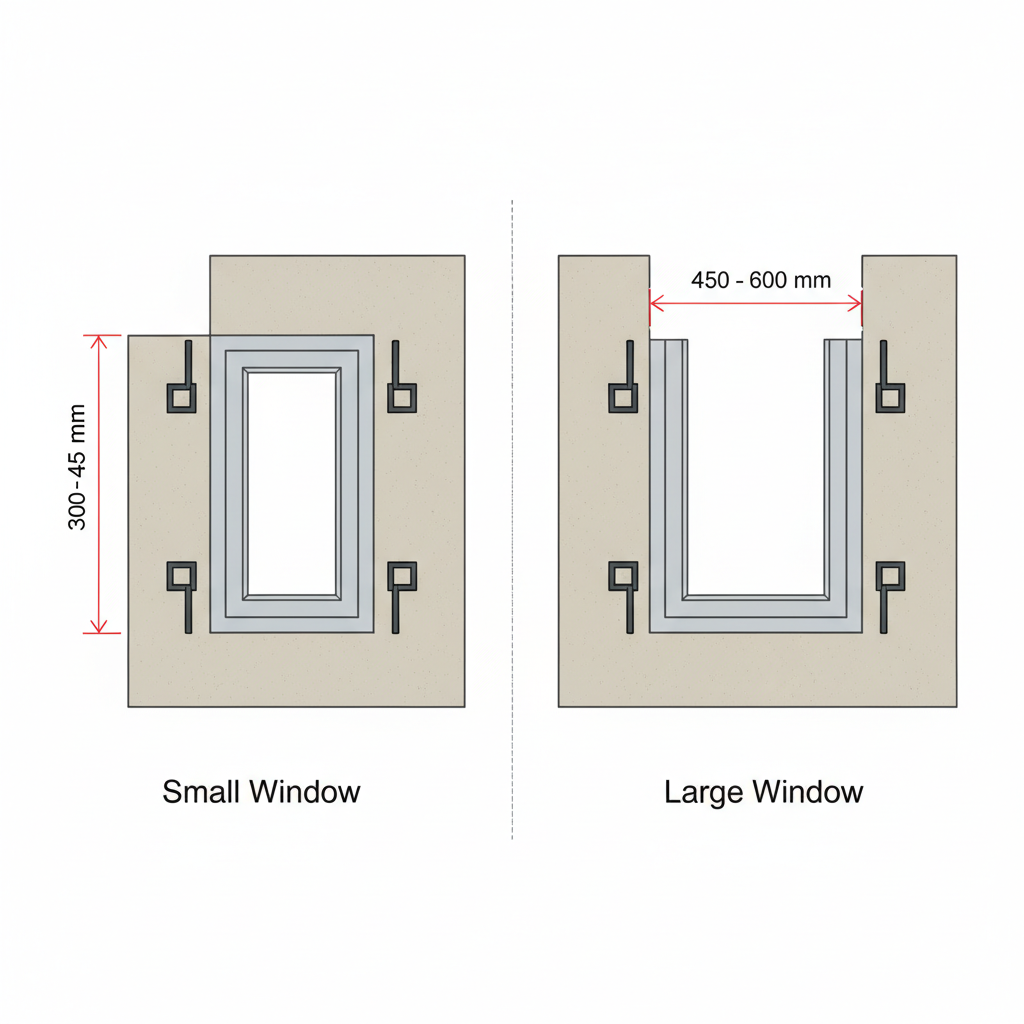
Anchor Spacing :-
| Frame Size | Anchor Distance |
|---|---|
| Small window | 300–450 mm |
| Large window | 450–600 mm |
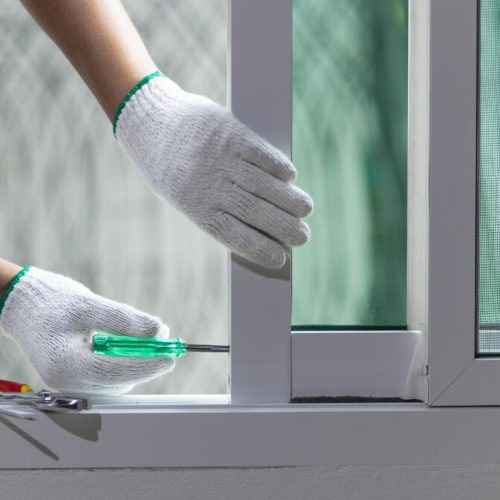
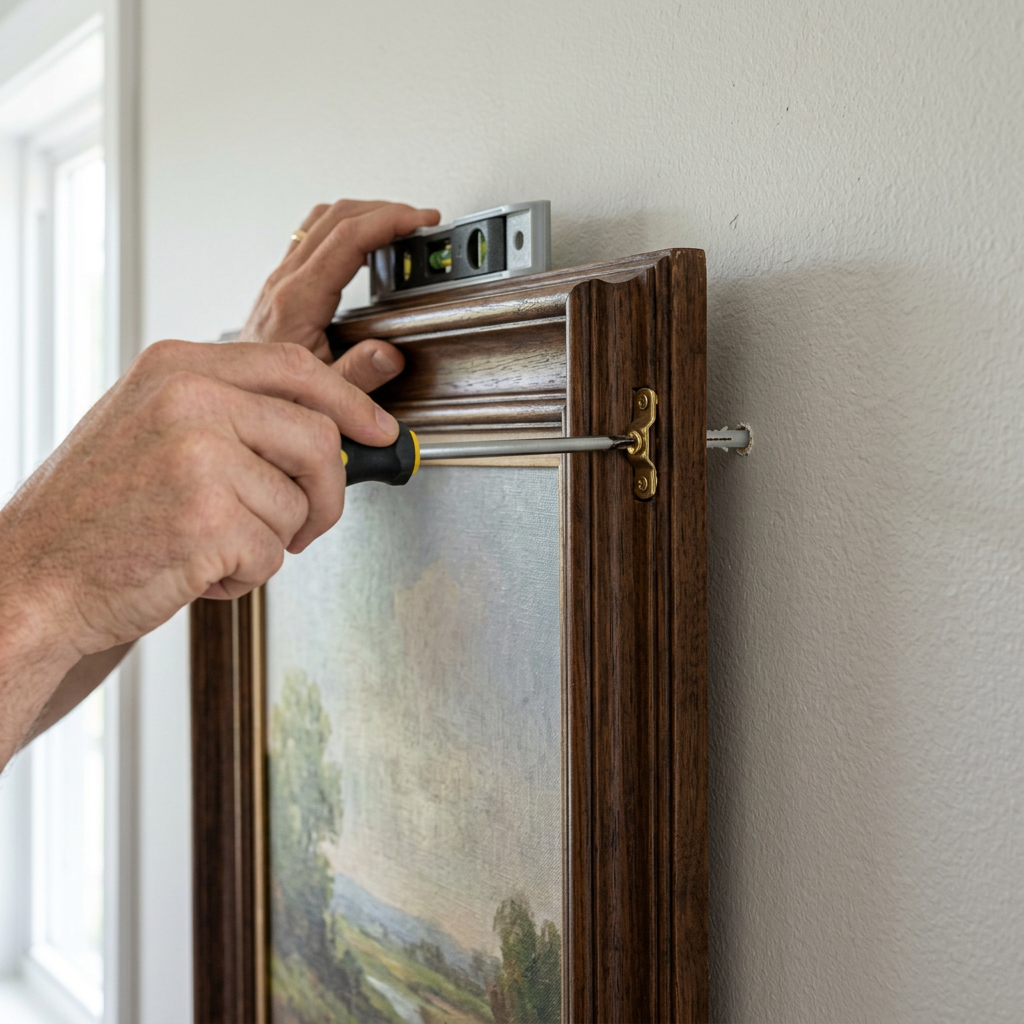
Permanent Frame Fixing:-
Tighten screws gradually
Avoid over-tightening (frame bending risk)
Re-check alignment after fixing
Gap Filling (Critical Step):-
Materials Used:
PU Foam
Cement mortar (rare)
Process:
Fill gap evenly
Avoid overfilling
Allow curing
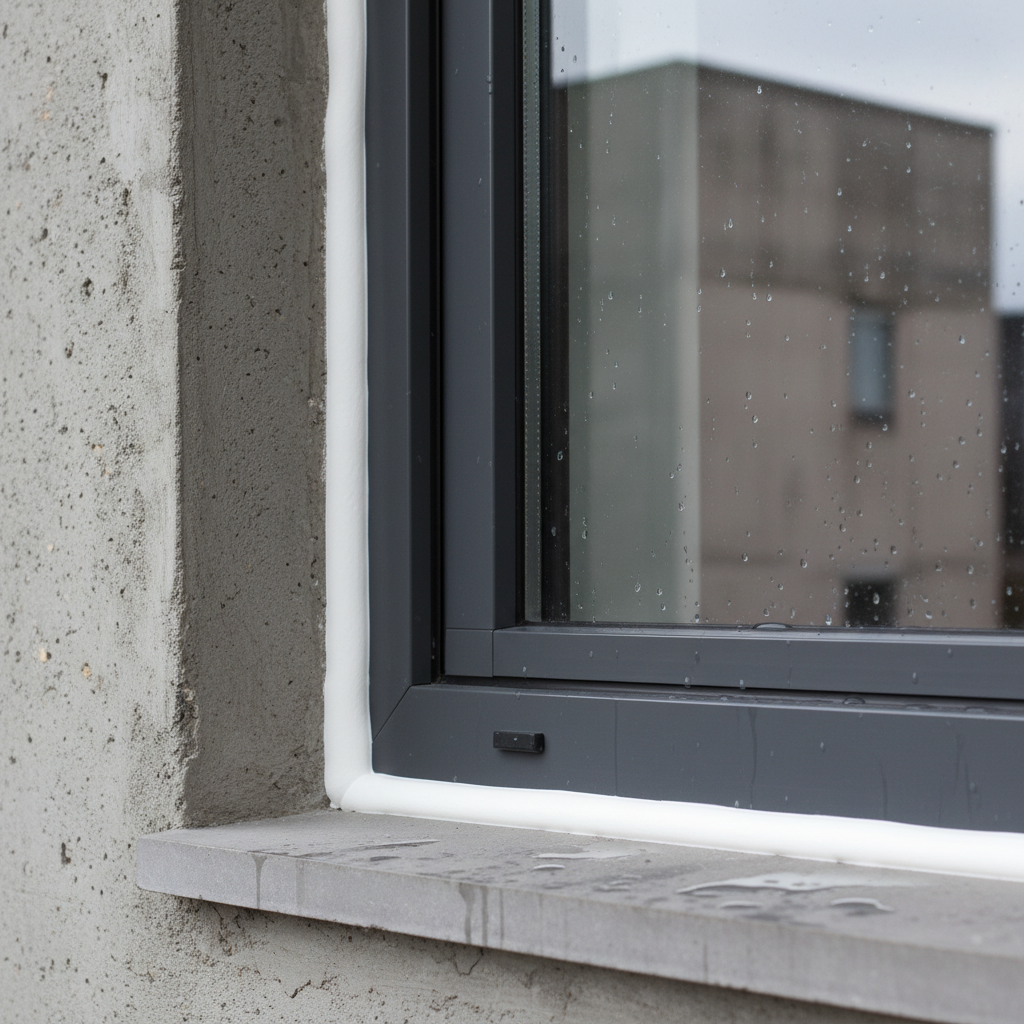
Waterproof Sealing:-
Material:
Silicone sealant
Areas:
Outer perimeter
Bottom sill joint
Purpose:
Prevent water leakage
Improve insulation
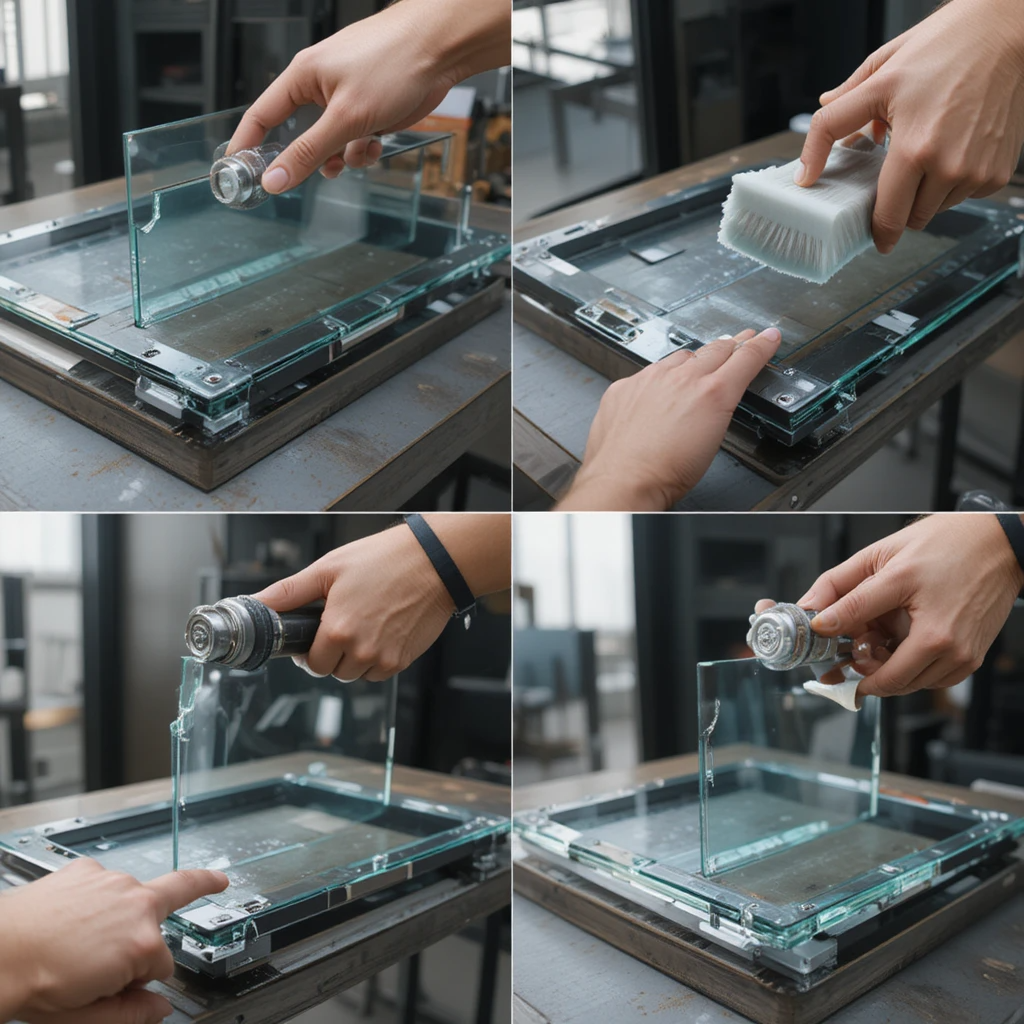
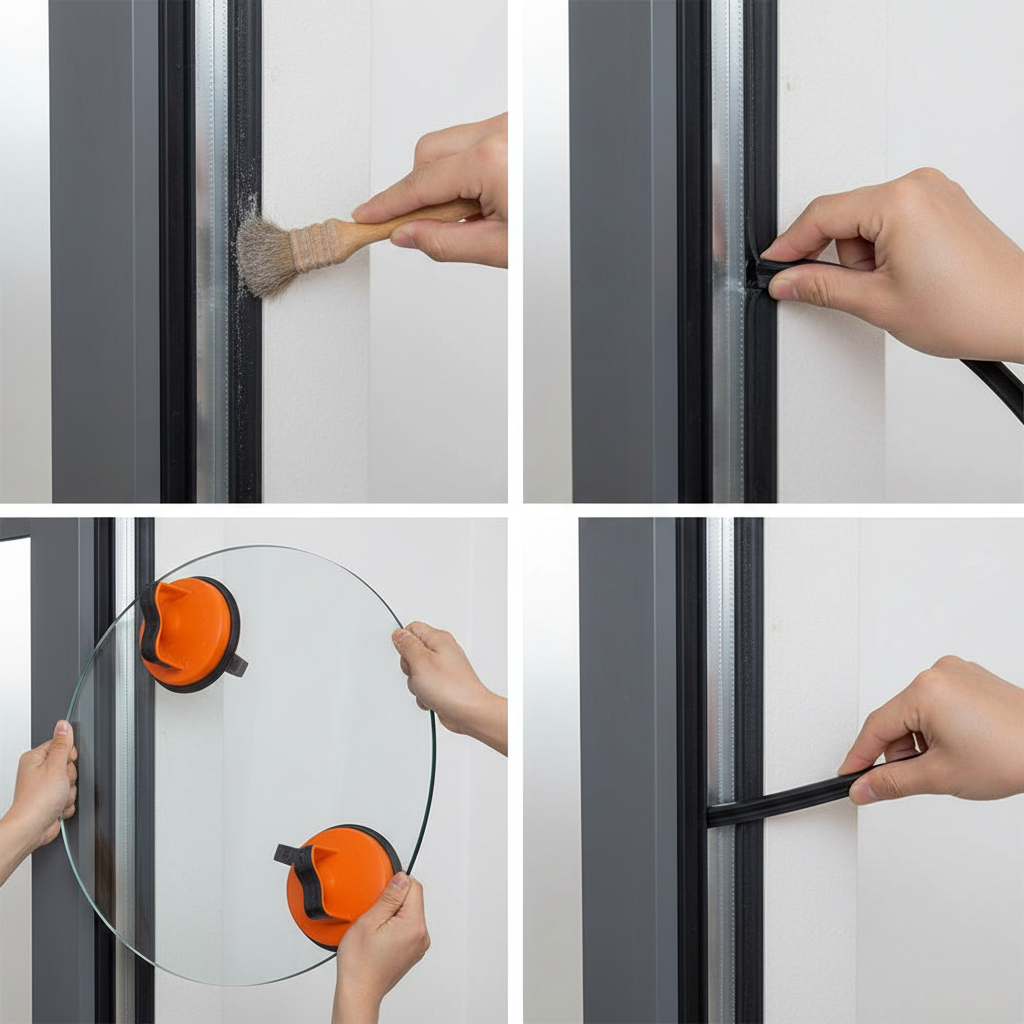
Glass Installation:-
Steps:
Clean frame grooves
Place rubber gasket
Install glass using suction tool
Fix with beading
Beading Fixing:-
Description:
Beading holds glass in position.
Types:
Clip-on beading
Screw-fixed beading
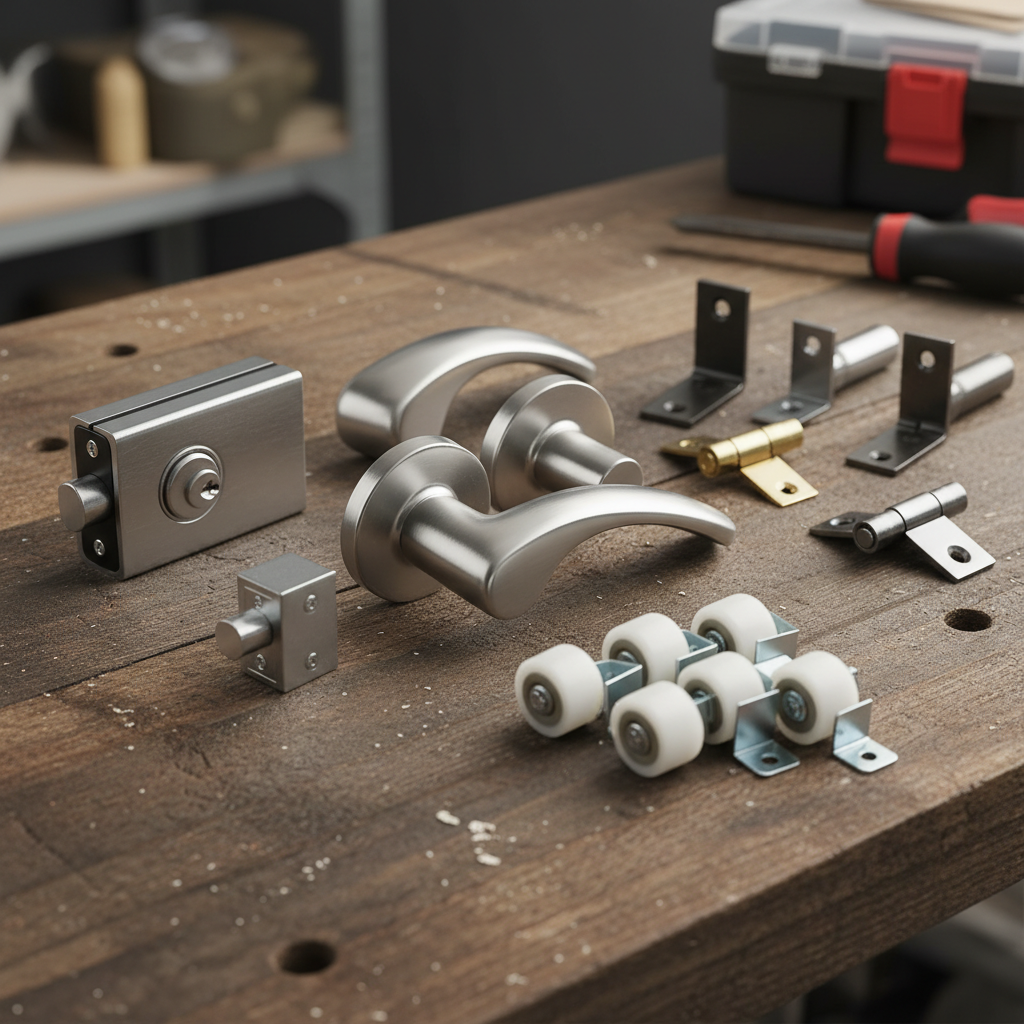
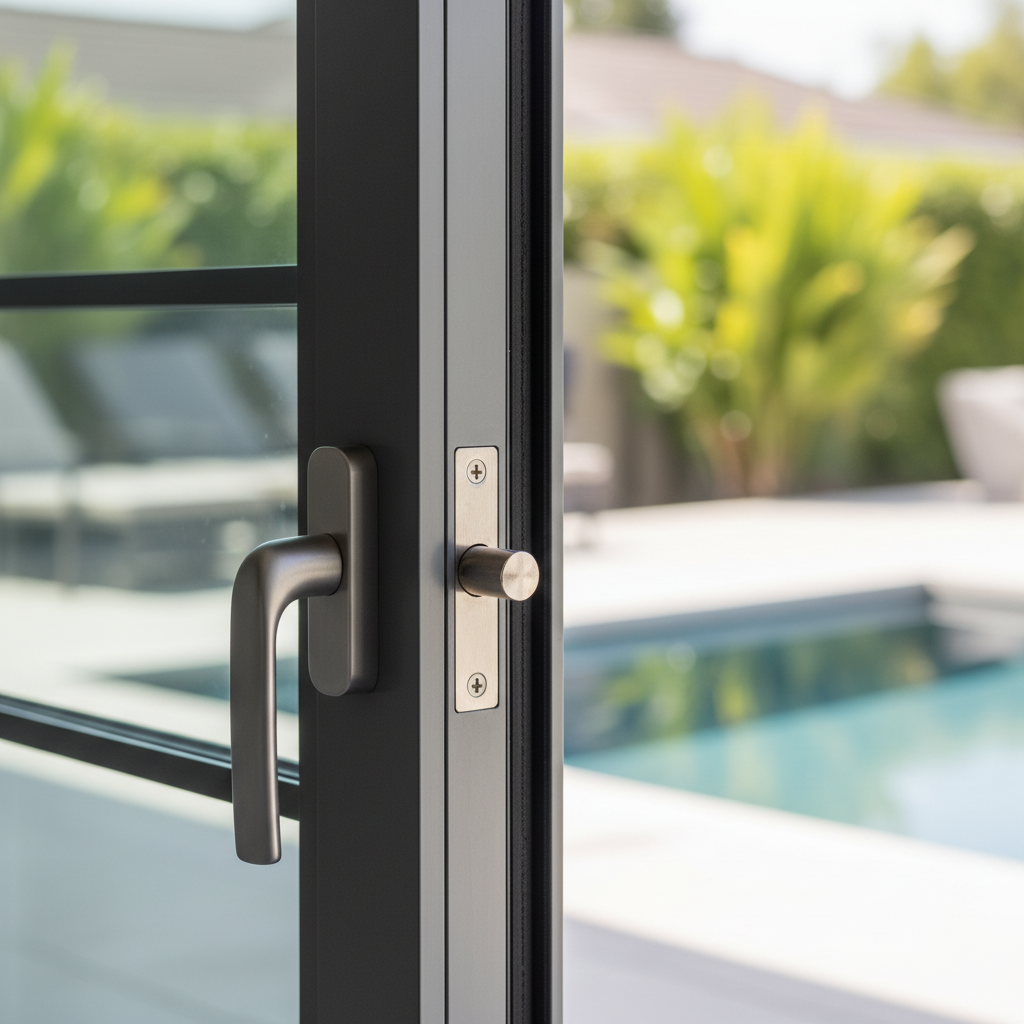
Hardware Installation:-
Includes:
Handles
Locks
Hinges
Rollers (sliding windows)
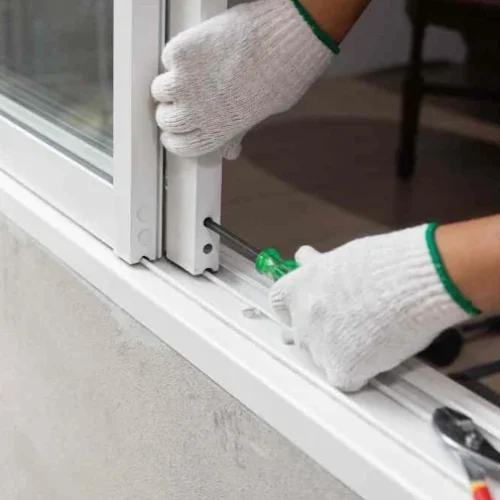
Sliding Track Alignment (For Sliding Windows):-
Ensure:
Smooth movement
No friction
Proper roller adjustment
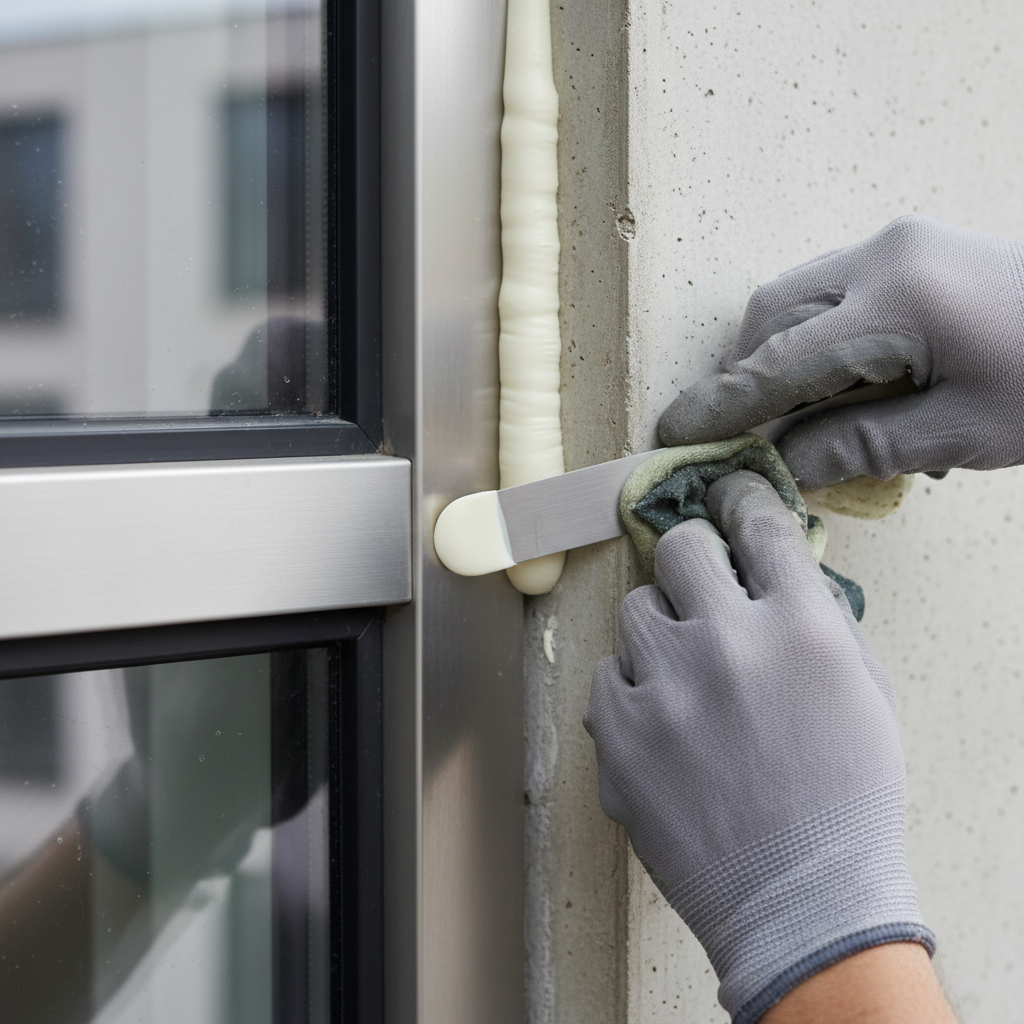
Final Sealing & Finishing:-
Apply outer silicone finishing
Smooth edges
Clean excess material
Cleaning Process:-
Remove protective film
Clean glass
Polish aluminium frame
Quality Inspection Checklist:-
 Frame alignment Smooth operation No air gaps Proper sealing Lock functionality
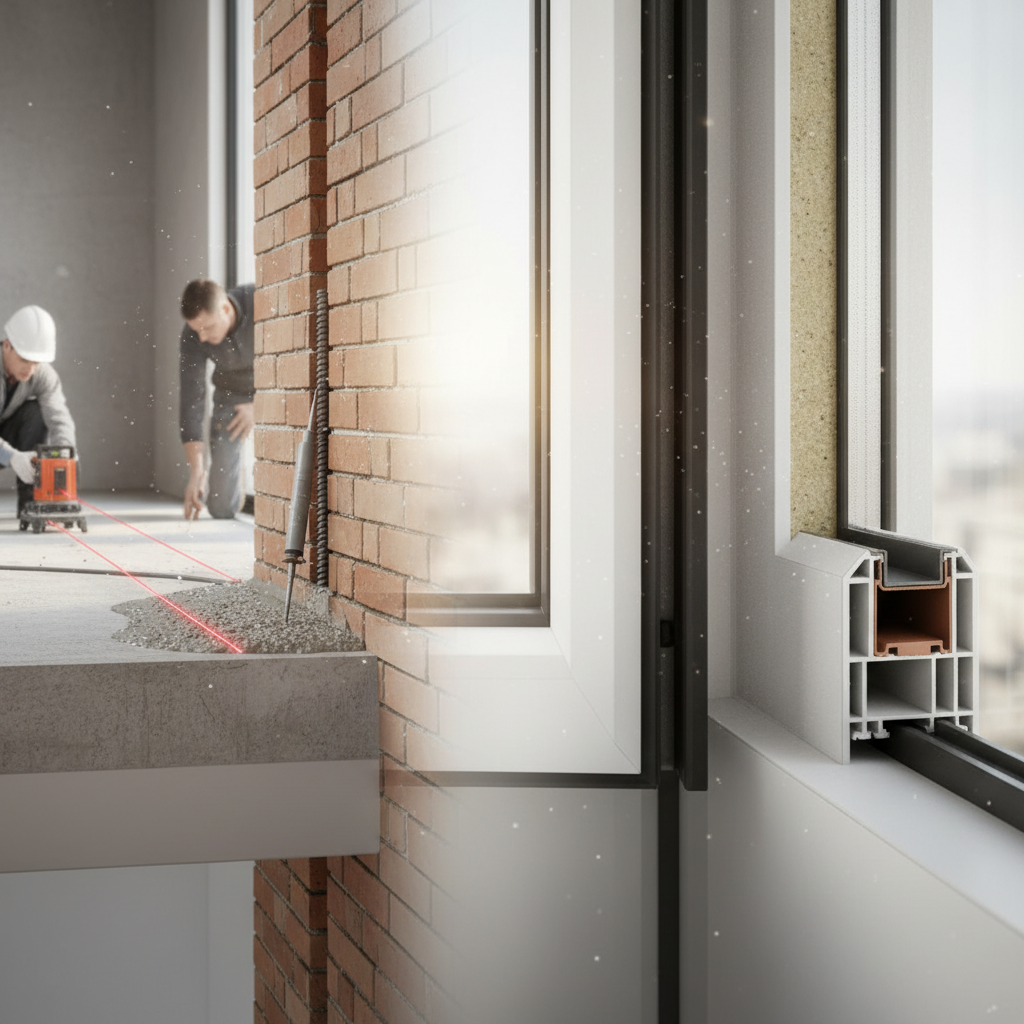
Advanced Installation Techniques:-
Laser leveling systems
Chemical anchoring
Double sealing system
Thermal break installation
Safety Measures:-
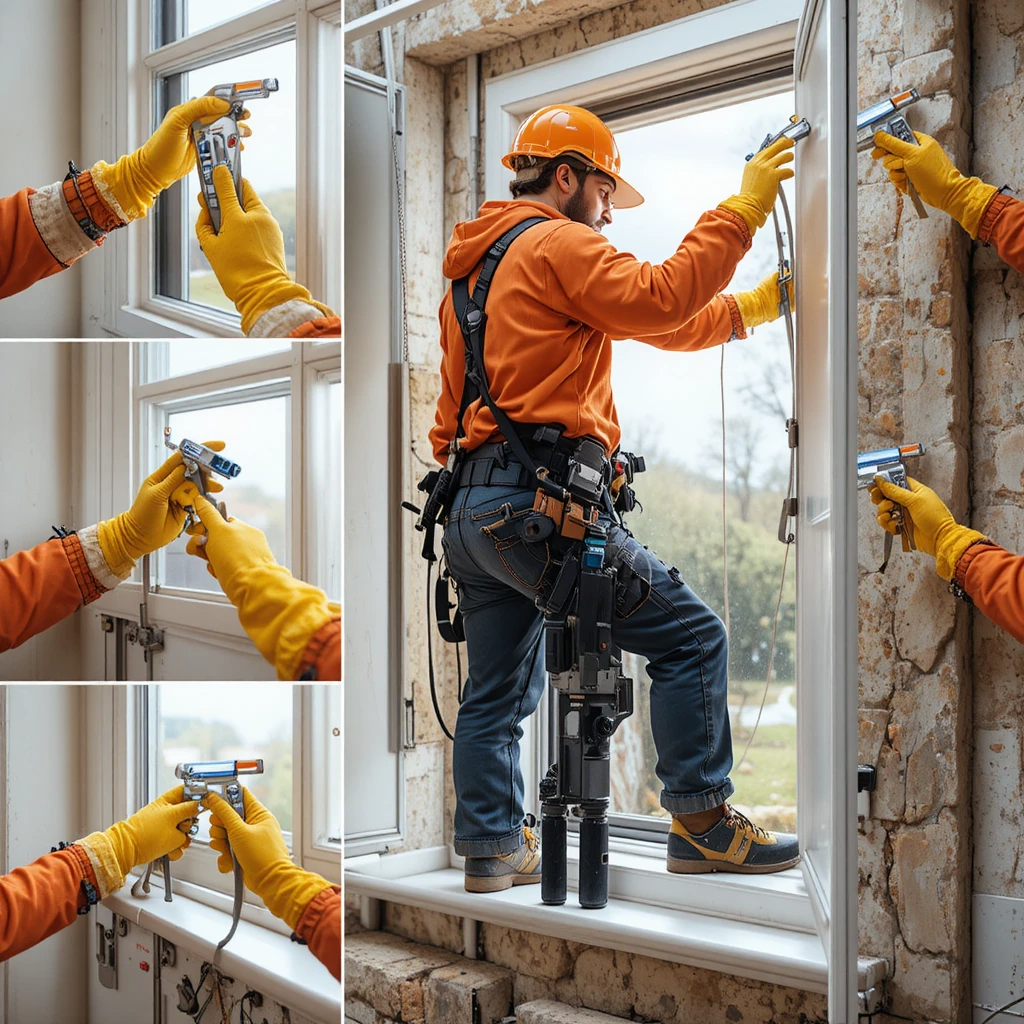
Use gloves
Use safety shoes
Avoid working at height without harness
Time Required:-
| Window Type | Installation Time |
|---|---|
| Small | 1–2 hours |
| Medium | 2–4 hours |
| Large | 4–6 hours |
Cost Factors:-
Window size
Glass type
Labour charges
Location
Maintenance After Installation:-
Clean tracks regularly
Lubricate rollers
Check sealant annually
Durability & Lifespan:-
Aluminium frame: 20–30 years
Sealant: 5–10 years
Hardware: 5–15 years
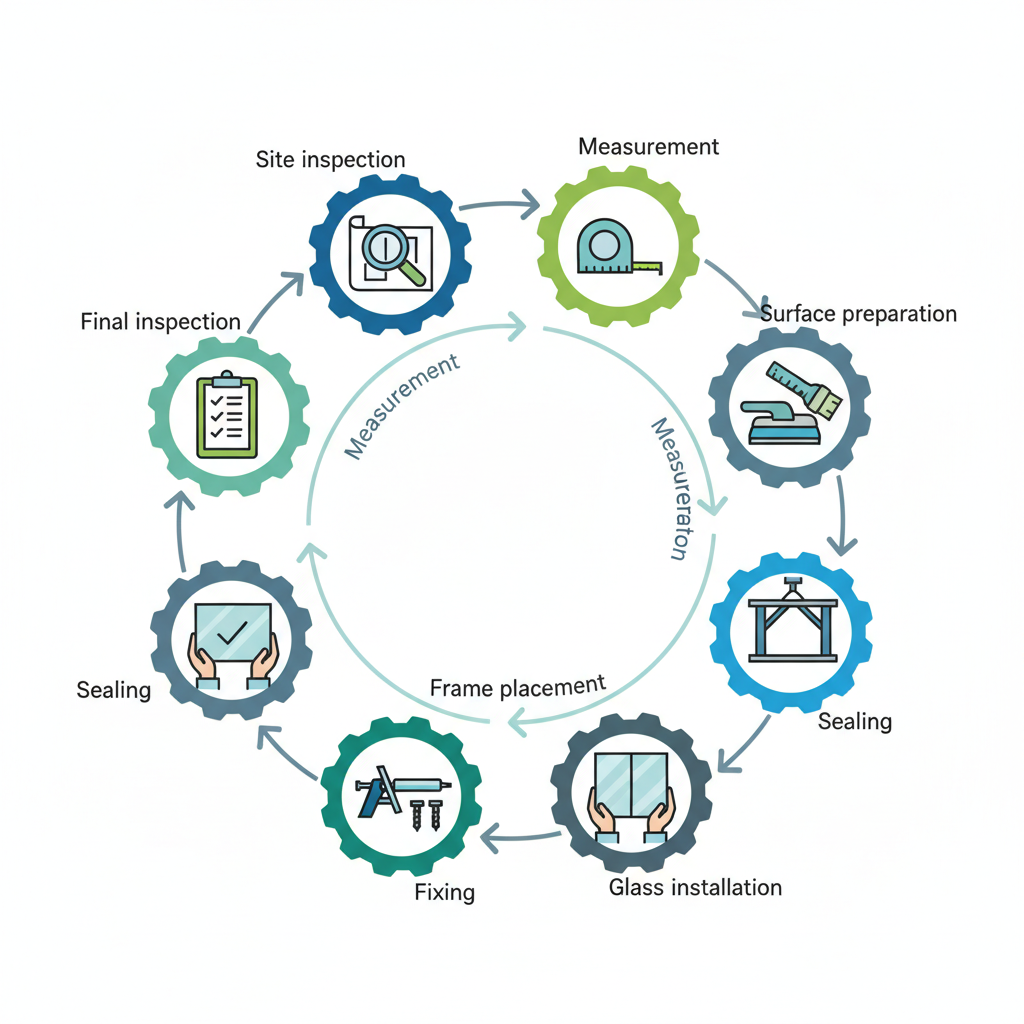
Installation Flow Summary:-
Site inspection
Measurement
Surface prep
Frame placement
Fixing
Sealing
Glass installation
Final inspection
Professional Tips:
Always allow expansion gap
Use branded sealant
Prefer powder-coated aluminium
Ensure proper drainage
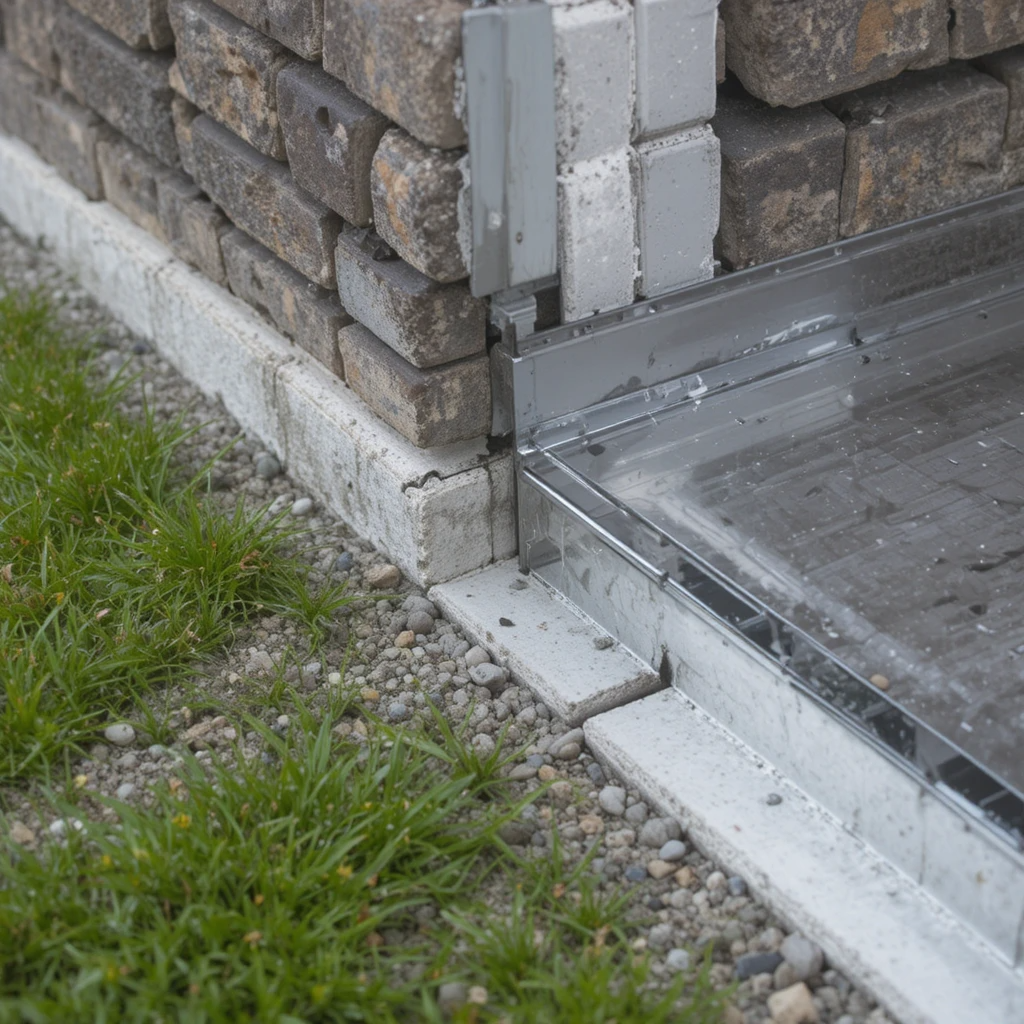
Process 1: Site Inspection:-
Measuring wall opening
Checking level
Inspecting wall strength
Checking sill slope
Marking installation area
Identifying obstacles
External wall condition
Internal wall condition
Tools preparation
Planning layout
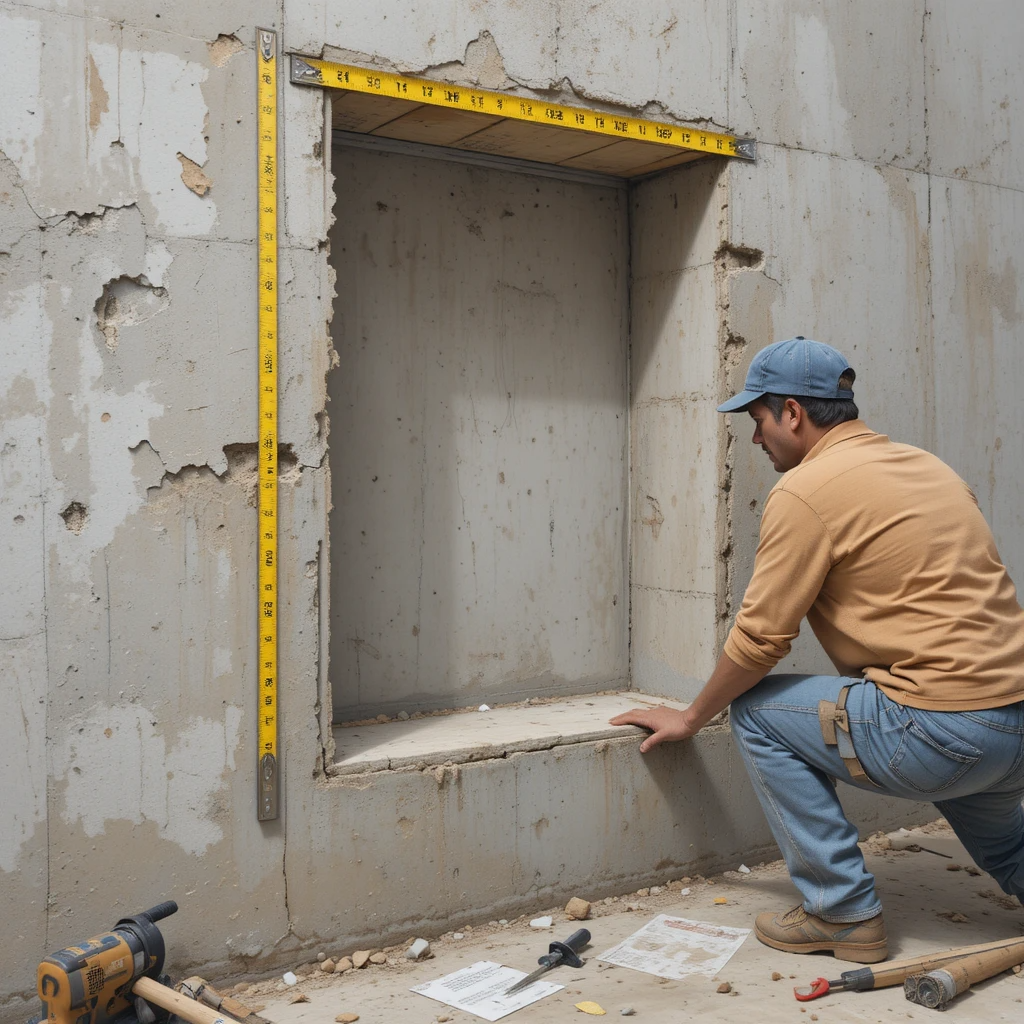
Process 2: Measurement:-
Width measurement
Height measurement
Diagonal measurement
Tape usage
Marking points
Recording dimensions
Checking variation
Double verification
Frame comparison
Final measurement sheet
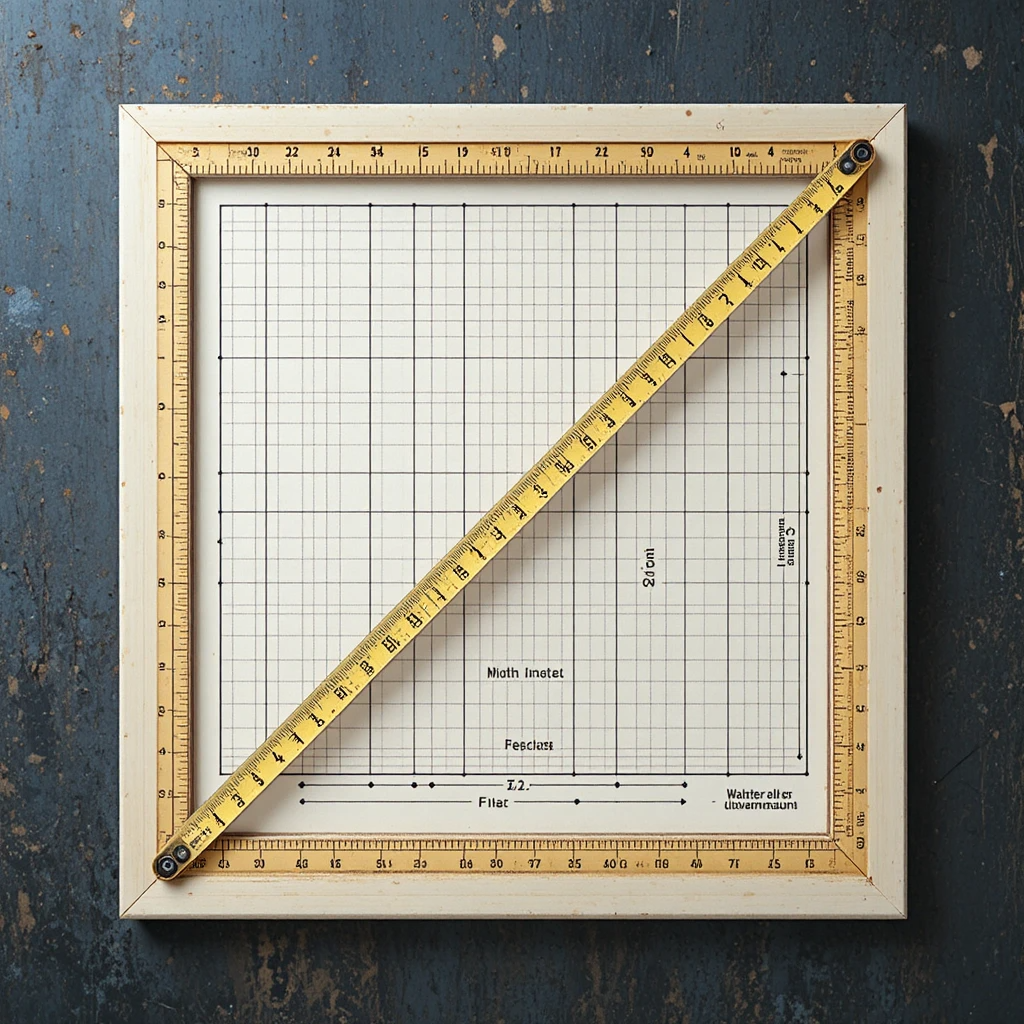
Process 3: Frame Fixing:-
Frame placement
Using packers
Level checking
Drilling frame
Drilling wall
Anchor insertion
Screw tightening
Alignment check
Gap checking
Fixed frame
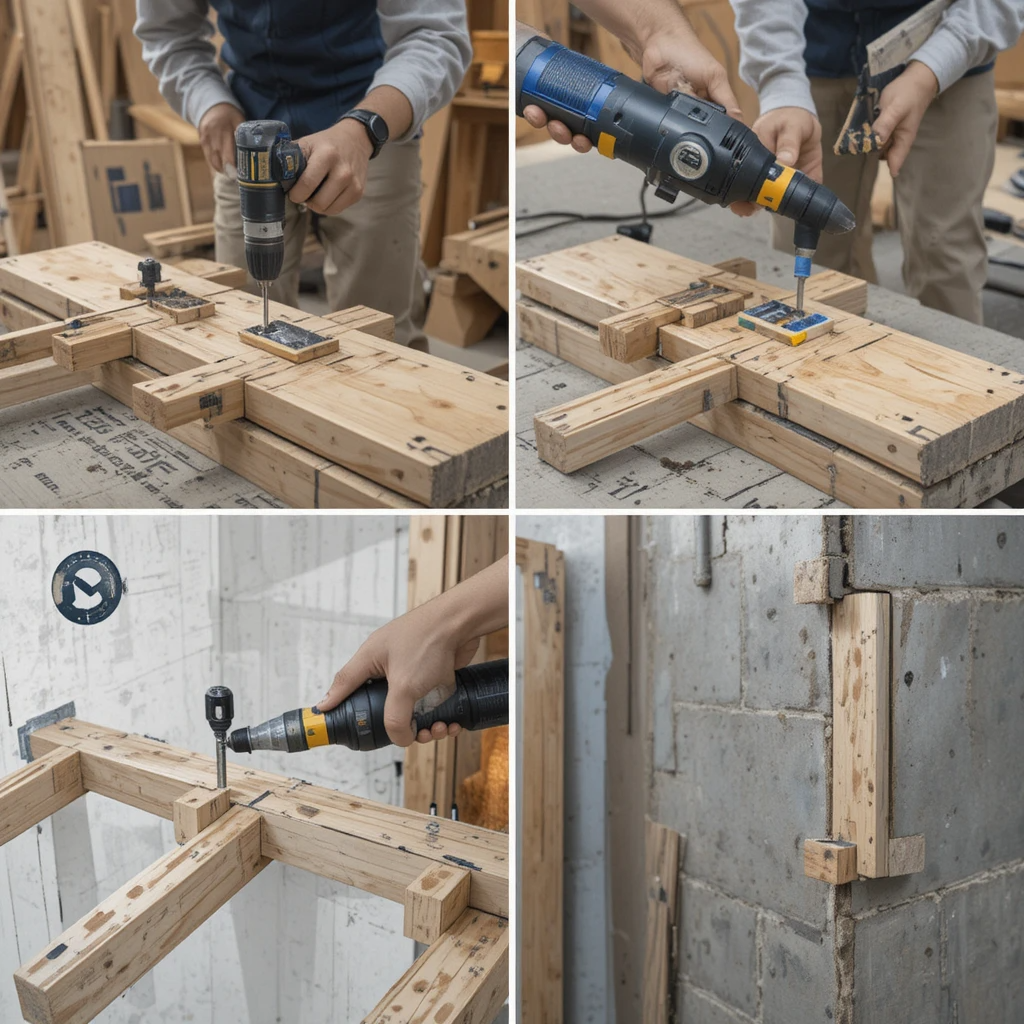
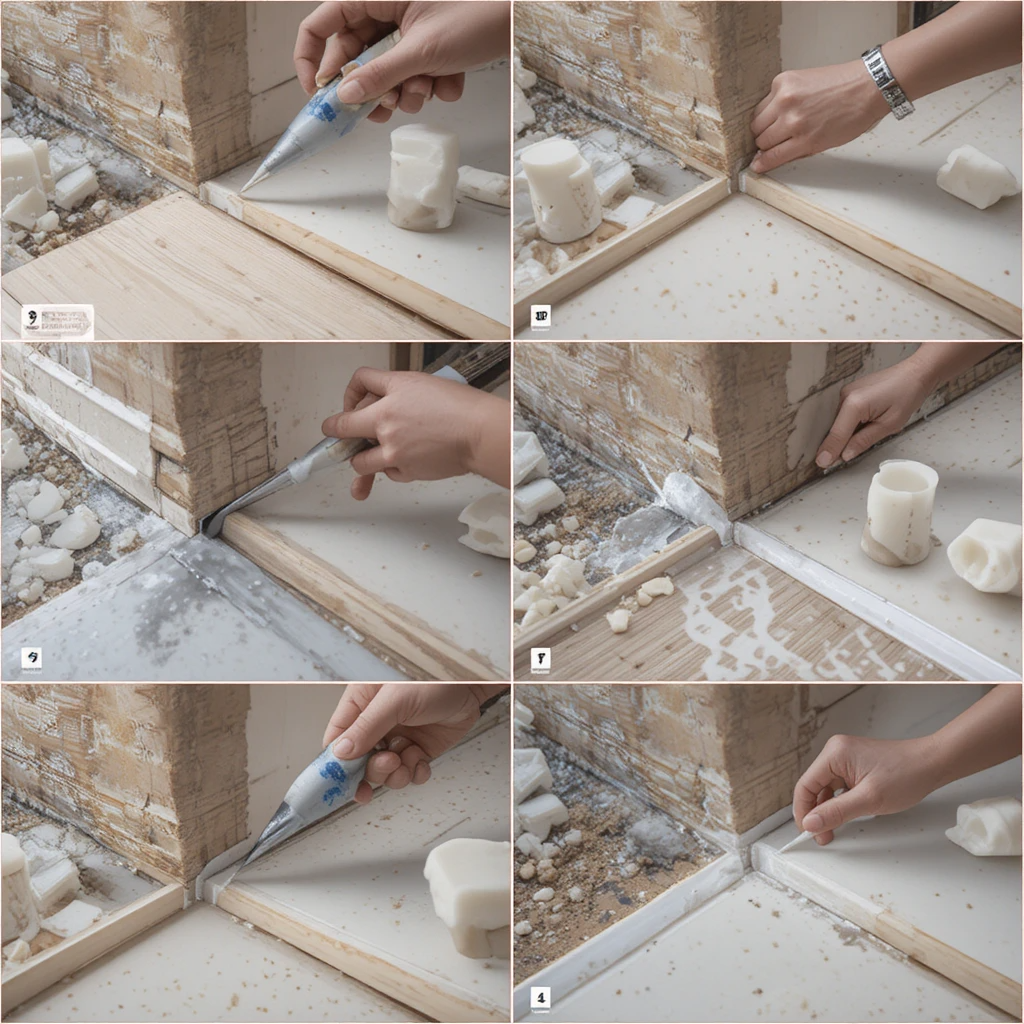
Process 4: Sealing & Finishing:-
PU foam filling
Gap sealing
Silicone application
Smoothing sealant
Outer sealing
Waterproofing
Cleaning excess
Final finishing
Edge smoothing
Completed seal
Process 5: Glass Installation:-
Glass lifting
Gasket placement
Glass positioning
Beading fixing
Frame locking
Checking alignment
Cleaning glass
Final inspection
Smooth finish
Installed wind